My quest to build custom IEMs, I succeeded but it was my longest and most expensive project to date.
In a way this project began in the same way as many of my projects do. I wondered what it would take to make a set of custom molded In Ear Monitors myself instead of buying them.
What at face value might seem foolhardy is actually common enough that there is a whole subReddit dedicated to it, https://www.reddit.com/r/DIEMs/.
I stumbled across this community a few years back but at the time I decided that I’d wait to embark on the project until I had a resin 3d printer, a tool that at the time I thought would be the single most expensive piece of the DIY IEM puzzle.
Fast forward about 3 years and the prices of resin 3d printers had fallen to the point that I purchased one for an entirely unrelated project and I realized that I could probably take a crack at building a set of custom in ear monitors.
The first step of the process was to get a set of silicone ear impressions made at an audiologist, luckily there is one right next to my office in downtown boston so this went quicker than expected.

The next step in process was the first point that I realized that this project wasn’t going to be as inexpensive as I had imagined. I needed to get these impressions 3d scanned and the best way to do that would be buying a 3d scanner. I spent a few days researching used dental 3d scanners since they had the resolution and accuracy that I was looking for. Unfortunately, at the time at least, there weren’t many promising choices on the used market. The inexpensive machines lacked any software (a critical flaw) and from my research the more expensive ones that came with software might not be able to export to a common CAD format. This put a damper on my plans. I started looking into jewelry scanners but they were all super expensive or impossible to source in the US. Finally I stumbled upon the Tupel 3d scanner. It wasn’t super cheap but it was in line with what a well used dental scanner would have cost and it boasted impressive specs for a machine this inexpensive. I was sold and I ordered one.
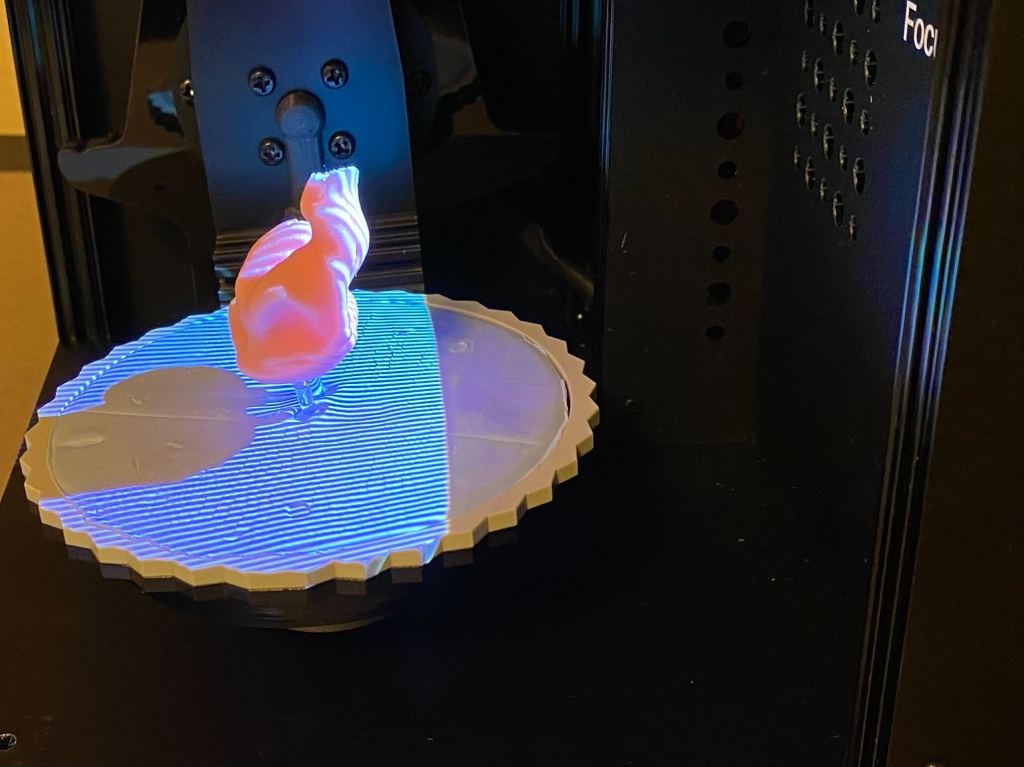
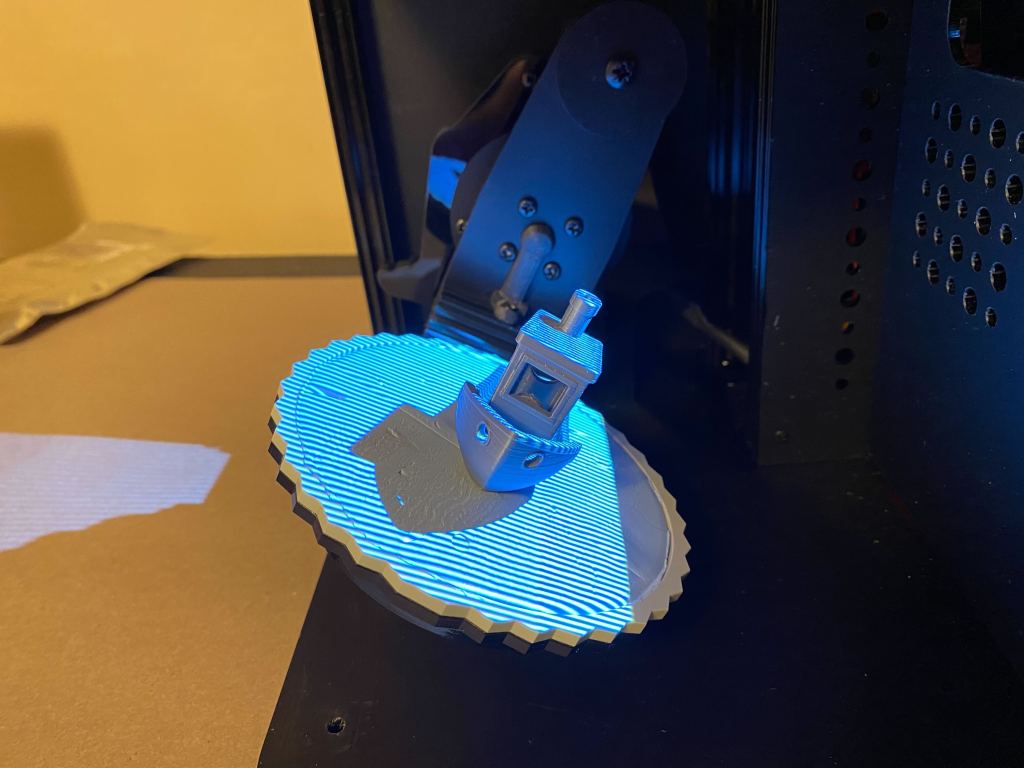
Once the scanner arrived I set to work scanning in my ear molds (and a benchy as a benchmark).

I now needed to take the scanned ear mold shapes and model them into something resembling an IEM. This took many tries and after an only semi successful first effort using Mesh Mixer and a Youtube tutorial I re-evaluated. These first monitors hurt to have in my ears, the extra large tips seem like an obvious issue now but at the time I didn’t know any better and the tutorial I had followed indicated that this was necessary to form a good seal.
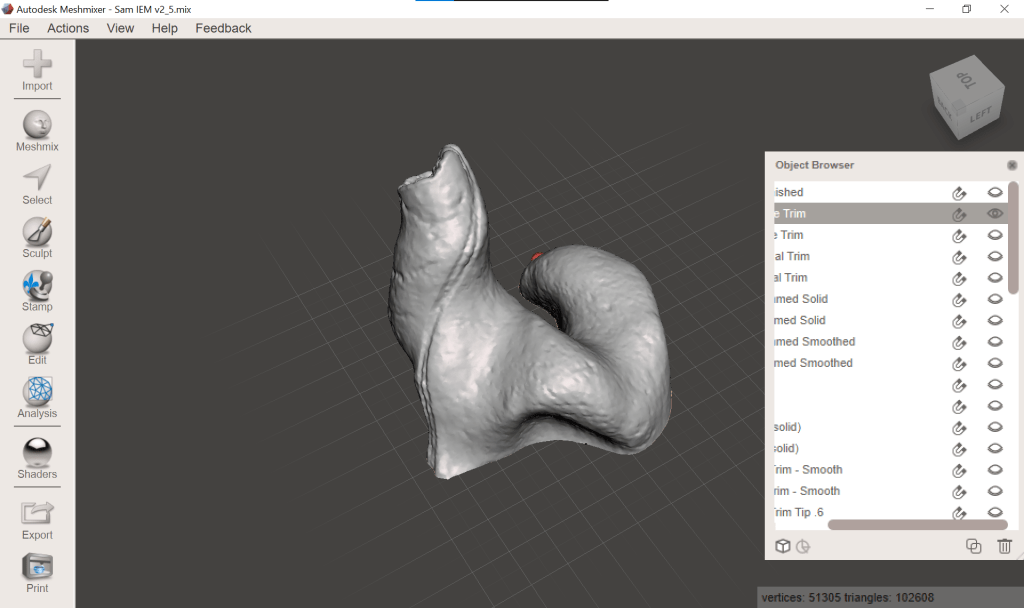
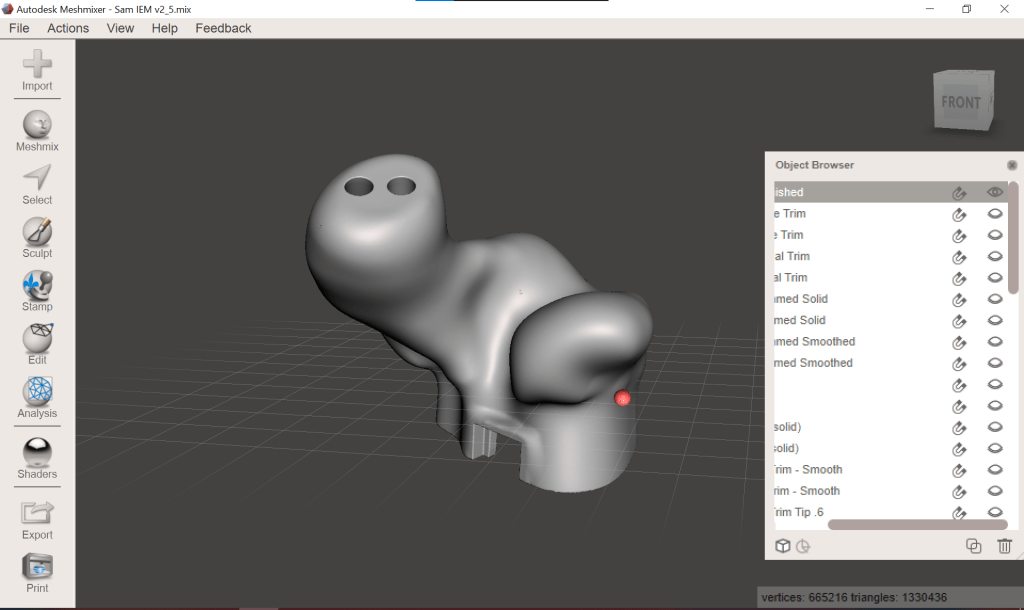
I probably could have kept going with Mesh Mixer, it really is great general purpose mesh modeling software but it had become clear to me that this was a less than ideal solution for modeling IEMs. Between the constant software crashes and the difficult to manage object browser I knew that a better solution had to exist.
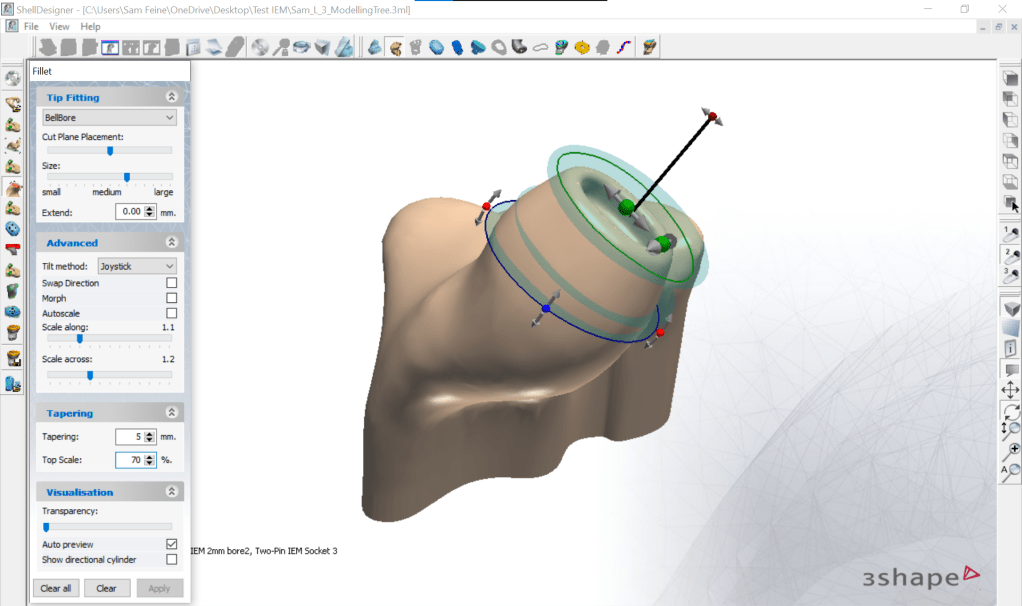
Since starting the project I had been hunting through Youtube for all of the videos I could find that showed factory tours of real IEM makers. My hope was to learn what I could about how these things are normally made at places that do it well. I found a few videos that were particularly interesting as they showed the same process I was trying to use. I noticed that these companies were using specialized software specifically intended to model hearing aids and IEMs. I started digging and I found a couple of software packages for doing just this. Secret Ear Designer and 3Shape Shell Designer.
I decided that I would try one of these solutions and 3Shape had a 30 day free trial.
What I hadn’t realized at the time is that this wasn’t a sign up for the free trial and get a download link type of thing, I had to fill out an application and then they sent me a license dongle in the mail.
This also came with a surprising amount of getting started help in the form of 1:1 zoom calls with a 3Shape application support engineer. Needless to say that I was impressed by the support and decided to license the software for at least a year after the first free month ran out.
The 3Shape software did what it claims and after some practice the time it takes me to model an IEM fell from over 2 hours per ear in Meshmixer to about 20 min. I also ended up with a much better fitting end result though that is as much to do with the IEM design methodology as it is the software that was used for modeling.

With the mechanical design finally sorted I turned my attention to the acoustic design of these IEMs. I had decided early on that it didn’t make sense for me to put all of this effort into building IEMs only to hamstring them by choosing cheap acoustic parts so I went with knowles gv-32830 drivers. These are a pre-made set of 4 balanced armature drivers, two tweeters and two woofers with an integrated crossover.
Anyone who has made a set of IEMs before knows that choosing the right drivers is only half of the battle when trying to make something that sounds good. There are also tubes, passive crossovers, and acoustic dampers which much be selected to tune the sound of the drivers.
I didn’t really know where to start with this so I followed a tutorial online which specified a certain tube length and acoustic damper selection. I was surprised to find that I really didn’t like how the finished product sounded. At the time I wasn’t super sure why I didn’t like them but I knew that they didn’t sound natural. Voices were muddled and there was perhaps too much bass.
Note that this write up goes a little bit out of order. This first listenable design was also using the old mechanical design as well so I had a set of IEMs that neither sounded nor felt great.


It certainly didn’t help that these things are tiny and super fiddly so it is difficult to quickly try out a bunch of different tube lengths and damper combinations.
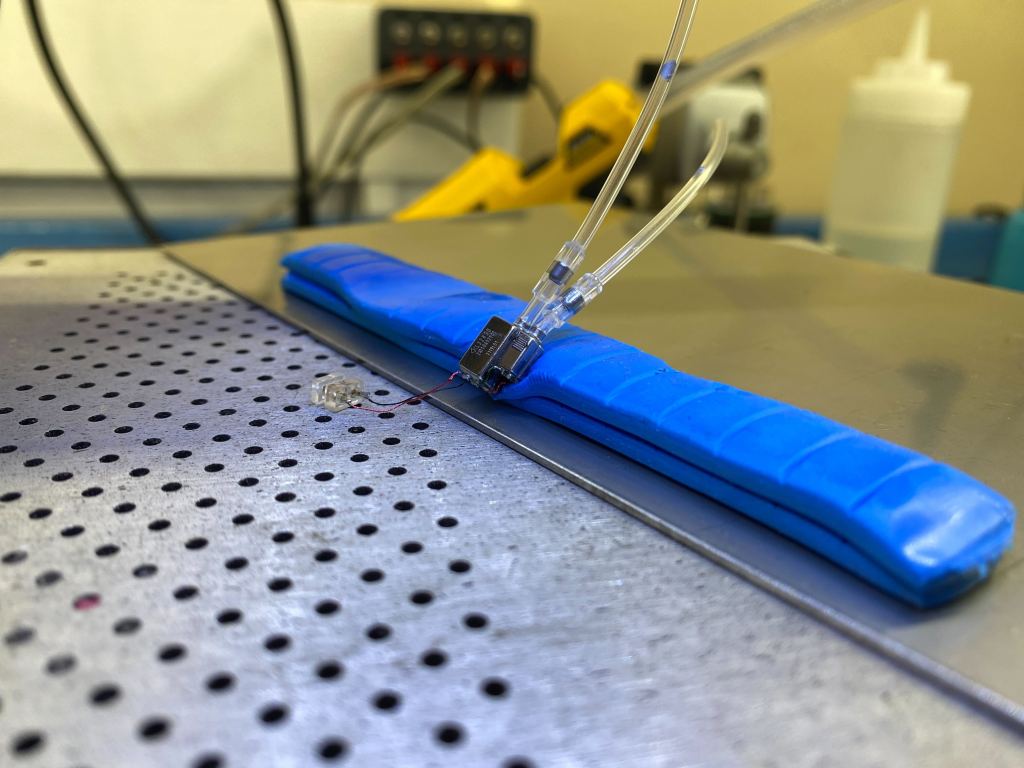
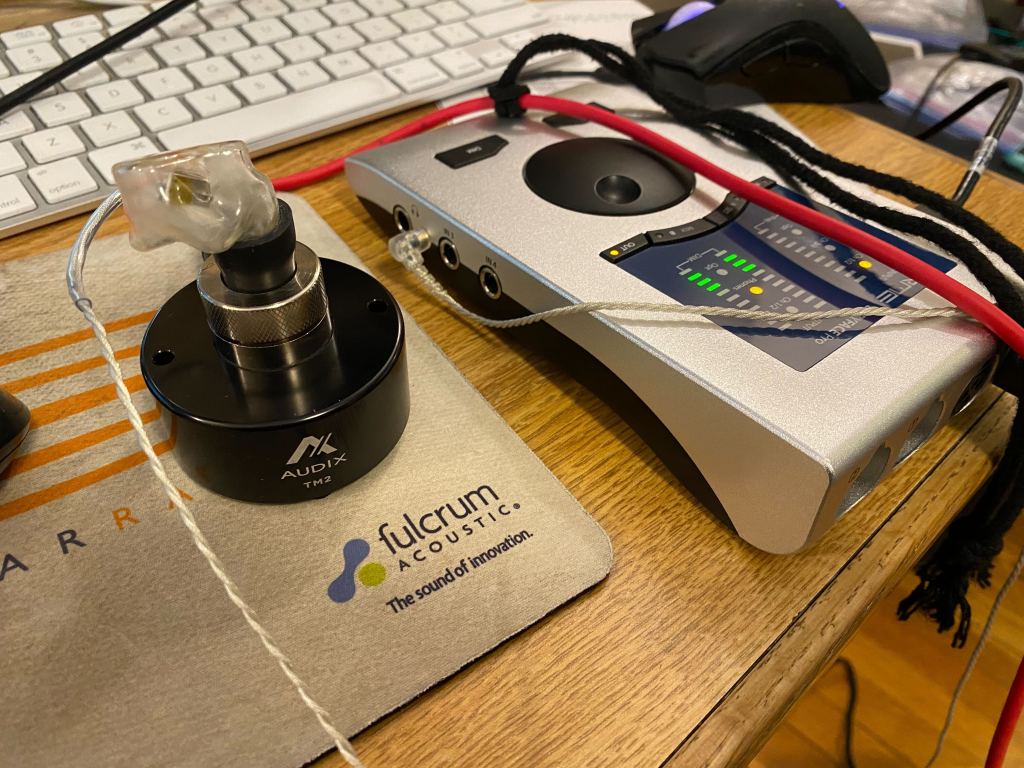
In my day job I design speakers. In the modern speaker design process listening is important but measurement is where one starts when they want to understand why something sounds the way it does. I own plenty of speaker testing gear but measuring IEMs is a bit different than measuring an “out loud” speaker like I am used to working with. This page gives a much more detailed description but in essence IEMs need to be measured with a special type of measurement coupler that simulates the human ear. I didn’t have one of these so that was next on my list of things to buy. I opted for an Audix TM2 which I like because it is reasonably robust, made by a well regarded company and runs off of normal XLR phantom power. It also doesn’t hurt that I know their director of US sales and he was willing to lend me his personal TM2 to try out.
With my newfound ability to measure the frequency response of these IEMs the issue became quite clear. More tuning would be required before they sounded like I felt they should.
With this in mind I methodically experimented with various parameters, tube length, acoustic filter resistance, and an additional electrical resistor placed in line with the woofer. When I found a combination that seemed to work well. For those looking to replicate my results this was a brown acoustic filter on the tweeter with the shortest tubes possible and a 39 ohm electrical resistor placed in line with the woofer but not with the tweeter which required some tiny soldering work. I found that I didn’t need an acoustic filter on the woofer, just the shortest tubes that I could use.

Interestingly one would normally expect to see a broad peak in the response around 3kHz but despite not having this my IEMs don’t sound like they are missing it. I later tried adding this in with an external DSP but while a little bit might have helped slightly the +10dB to +16dB typically seen in IEM target curves sounded very wrong to me. I much prefer the almost completely flat response that I measured with my IEM coupler. Notably the coupler itself not being exactly a match to the IEC711 design might have something to do with this, though I am dubious of that as a full explanation.
Great! I finally had both a shell that felt good and acoustics that sound good. The next task was gluing everything together, polishing, and clear coating.
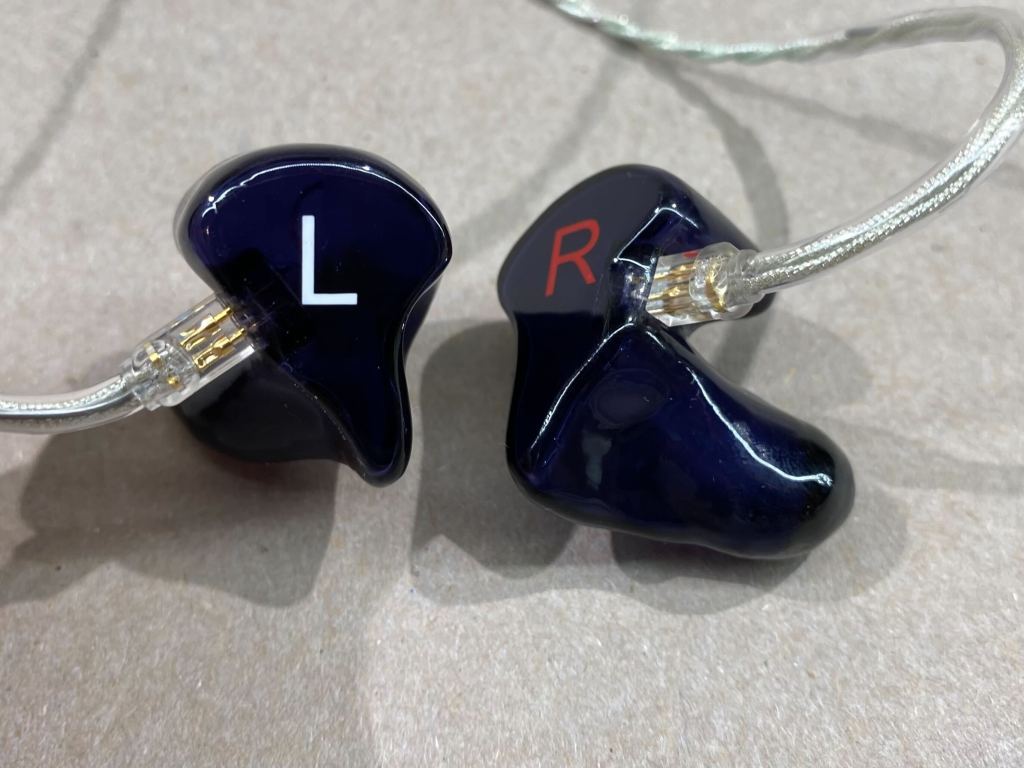
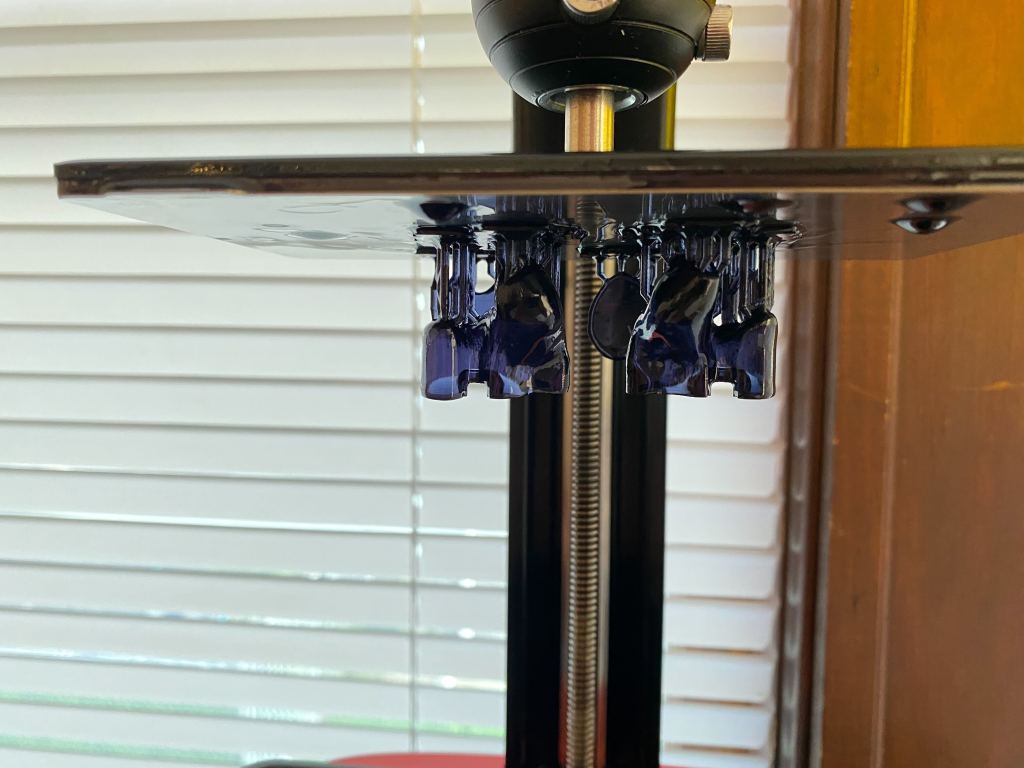
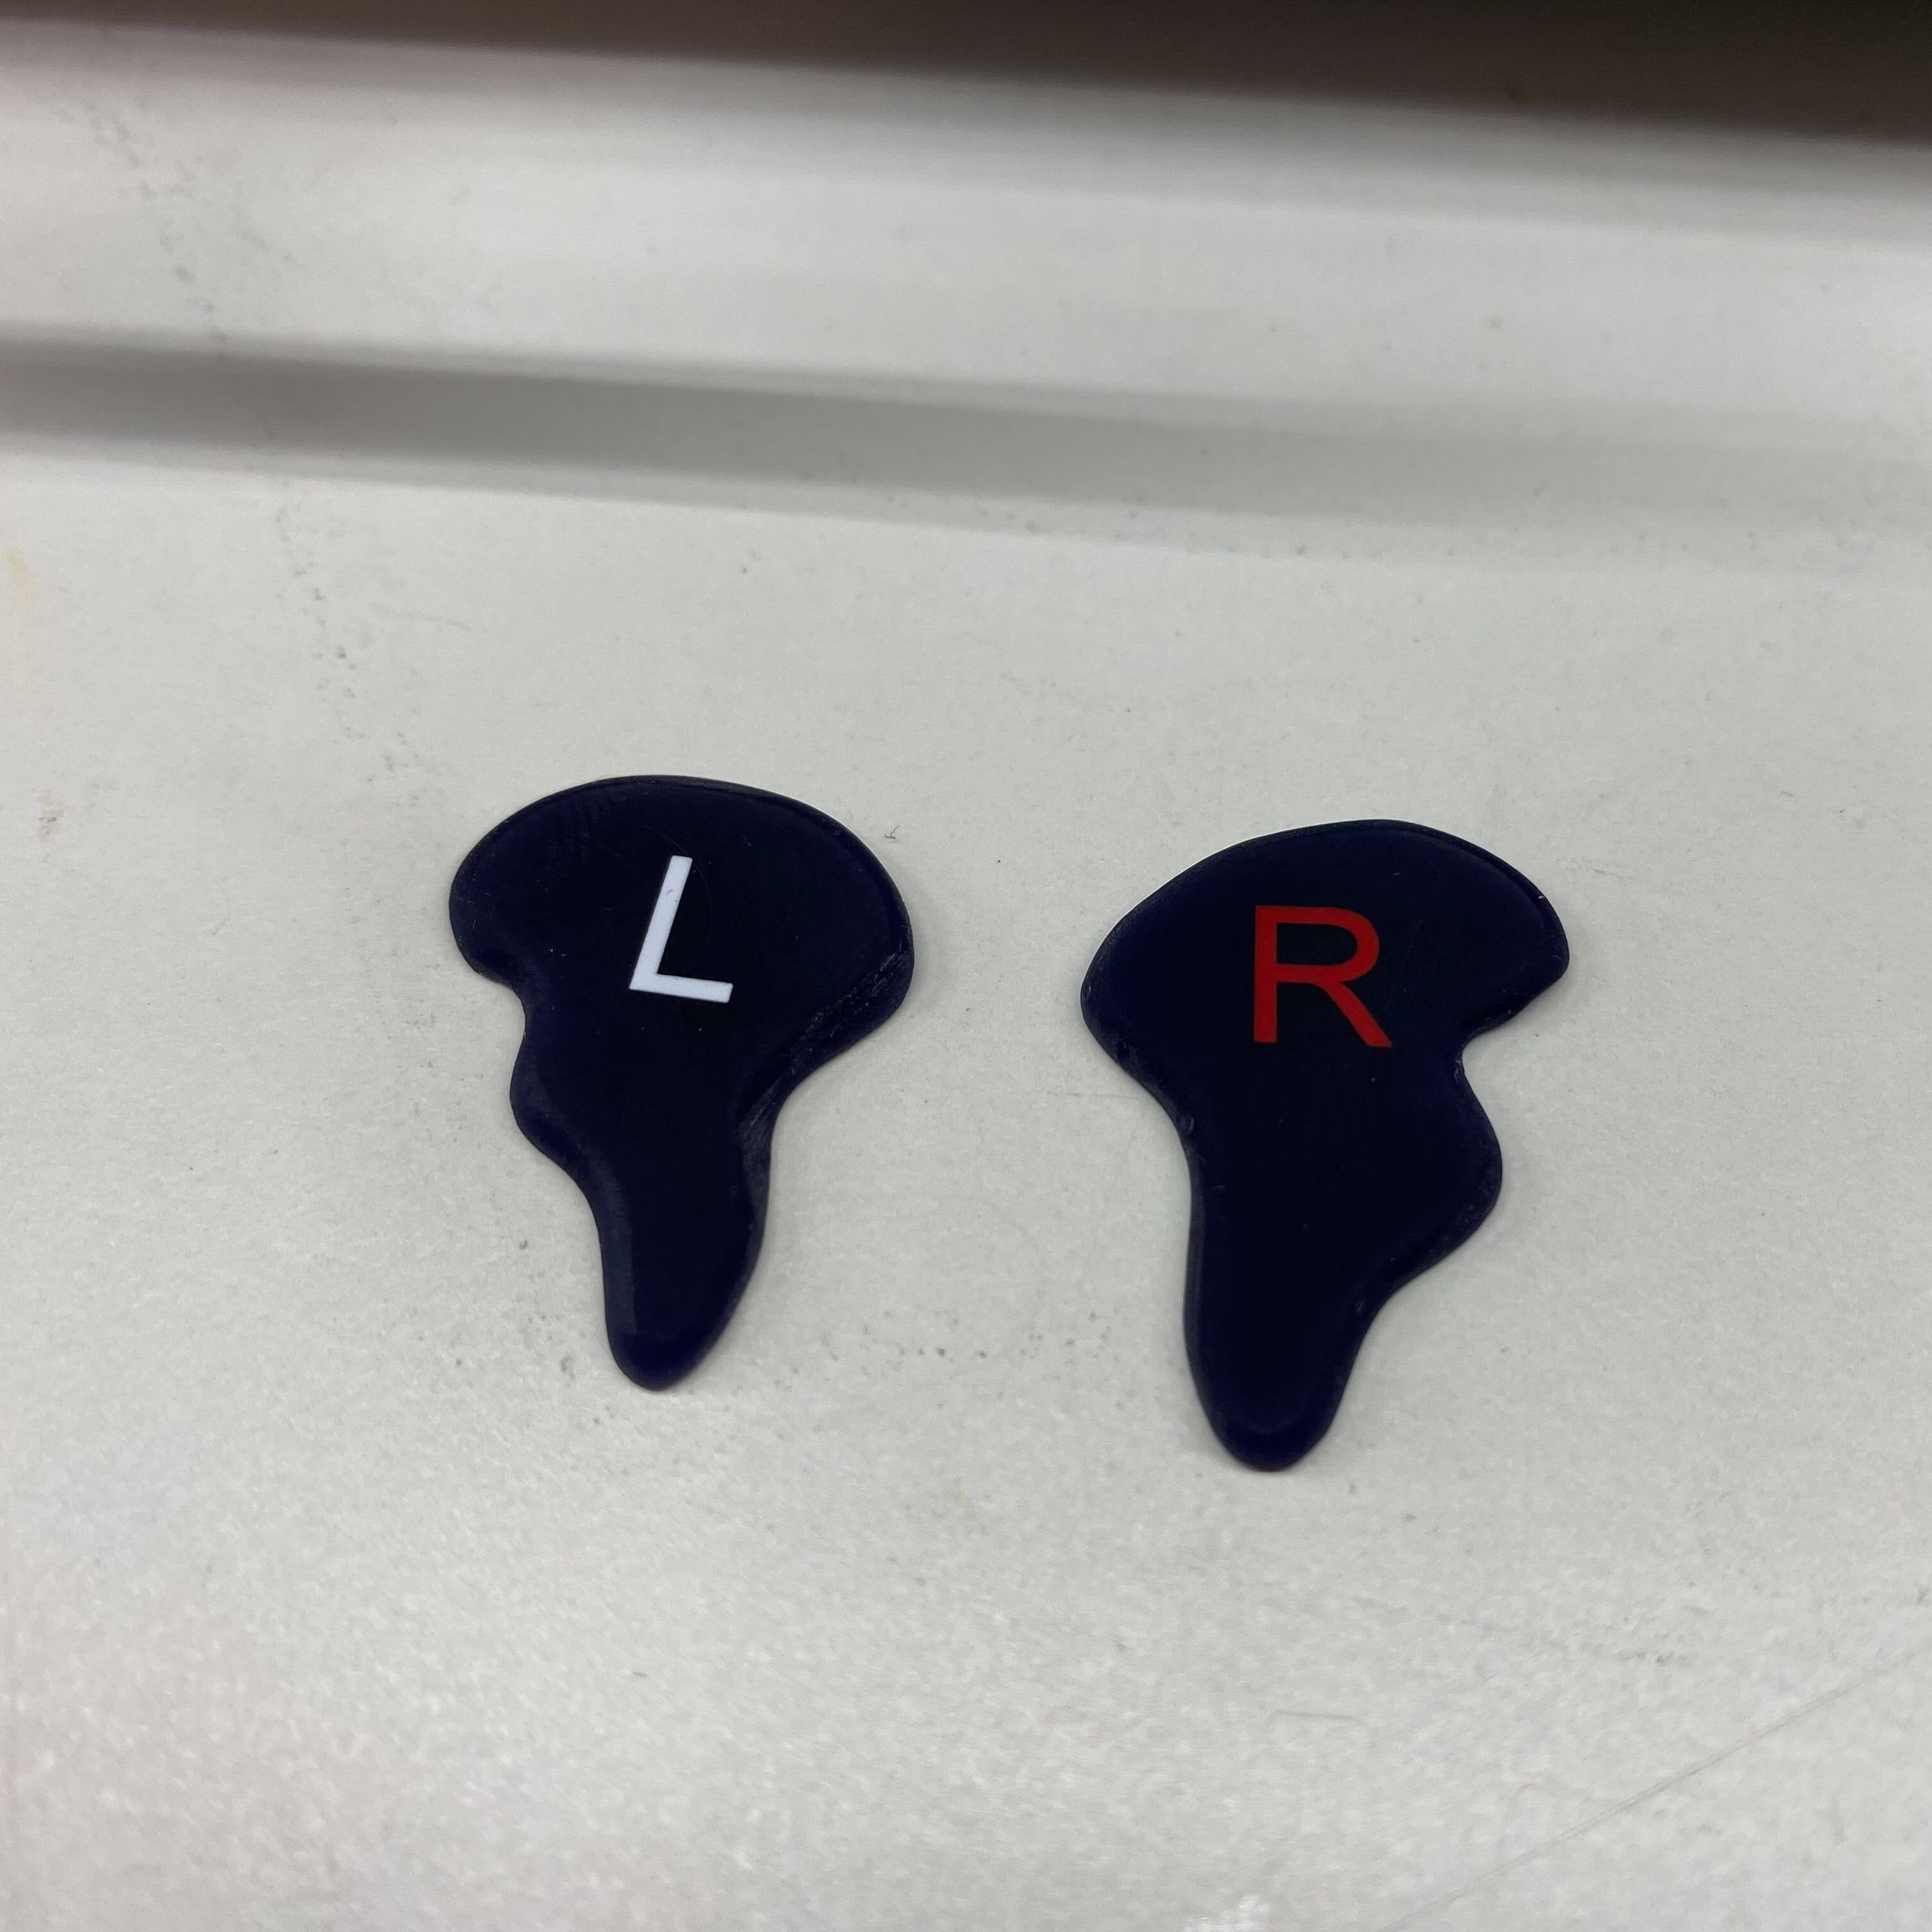
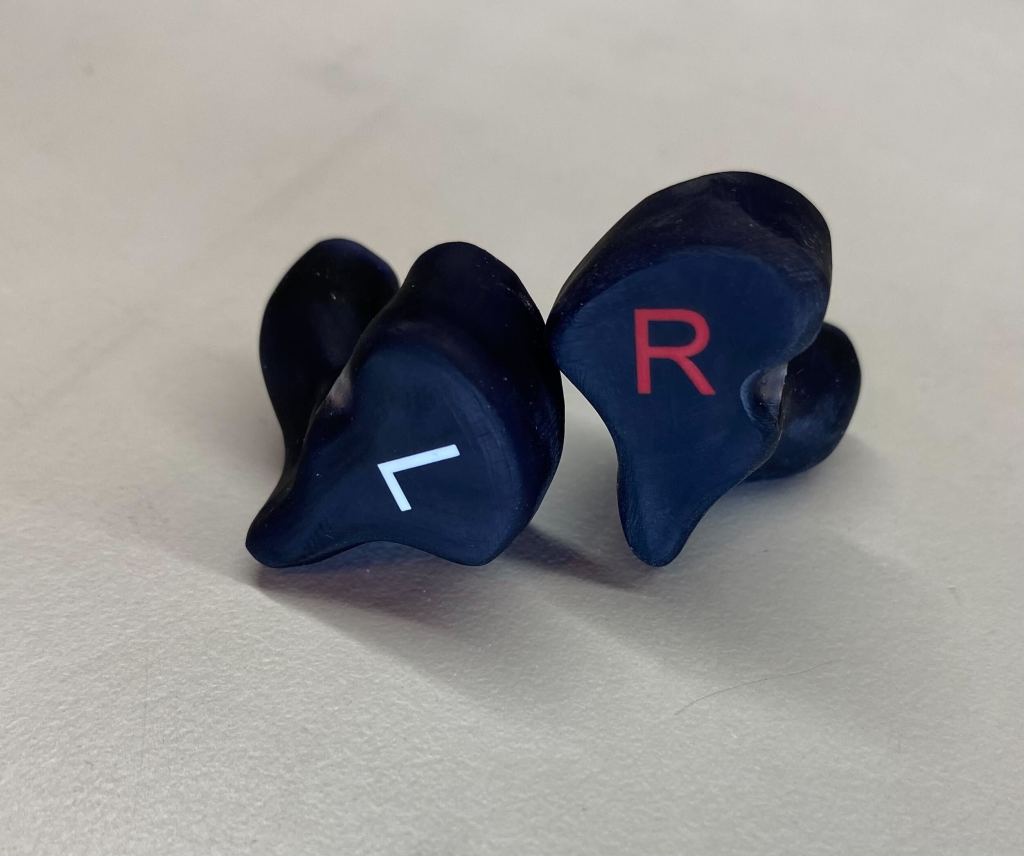
I printed the top caps at the same time that I printed the shells. I figured that I might as well try something fancy so I put the top caps on my laser engraver and I engraved in an “L” for the left ear and an “R” for the right ear. I then filled these letters with white and red UV cure nail polish, cured the polish in the 365nm uv curing oven that I had purchased as part of this project, and sanded off the extra nail polish to reveal a nice looking set of top caps.
The acoustic components and connector got glued into the shells using a “low bloom” super glue then I bonded the top cap to the shells using some UV cure material which I also used to fillet the sharp edges where the connector sticks out of the side of the IEM shells.
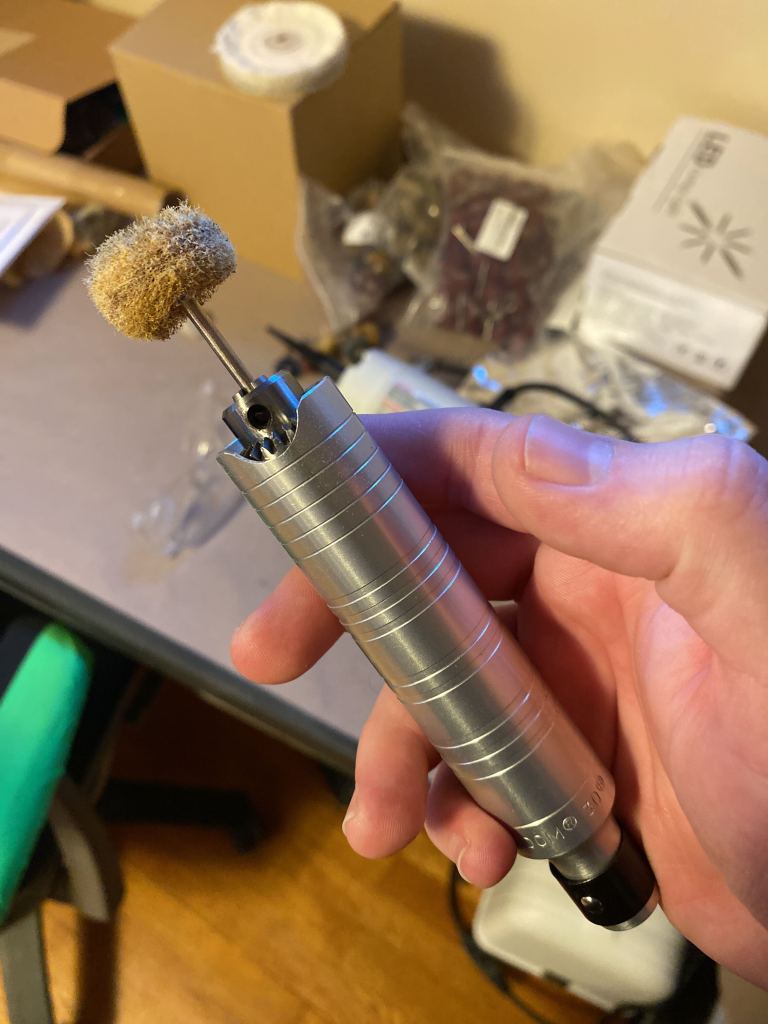
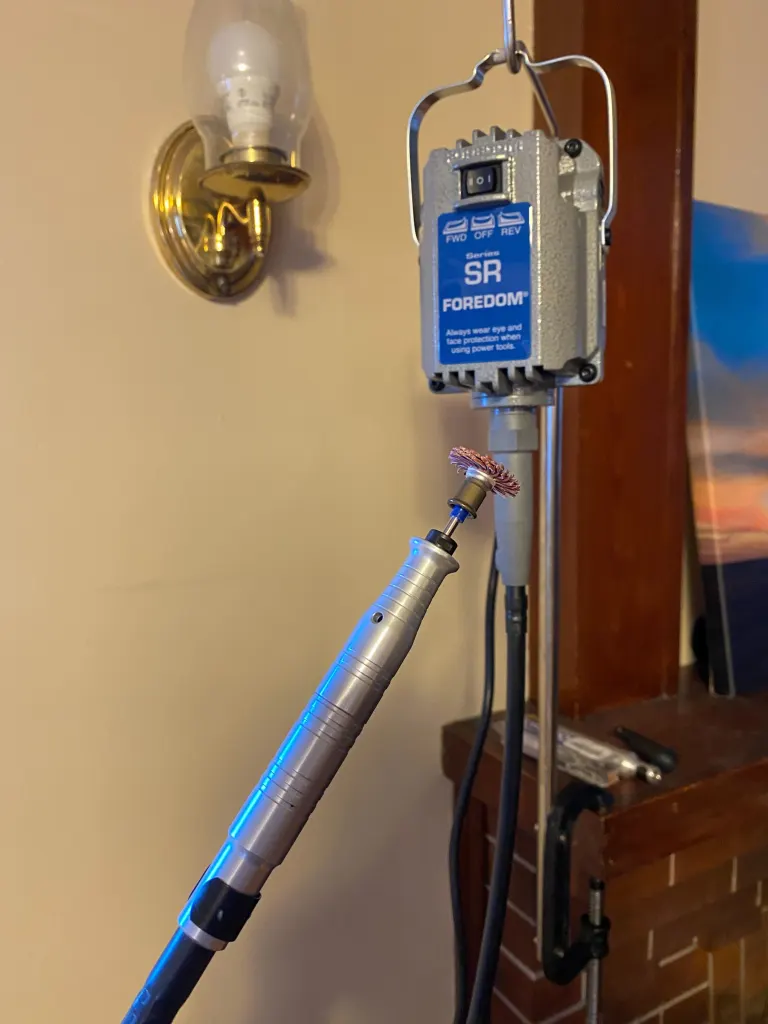
Next the glued up shells were tested and the excess UV cure material was ground away using a polishing lathe and a flex shaft rotary tool. Then the shells were cleaned thoroughly with rubbing alcohol and coated with a UV cure biocompatible clear coat finish.
I had taken “QC” acoustic measurements of the IEMs before sealing them up and I once again took a set of measurements after they were completed to my dismay something I had done had killed the woofers in both of the IEMs.
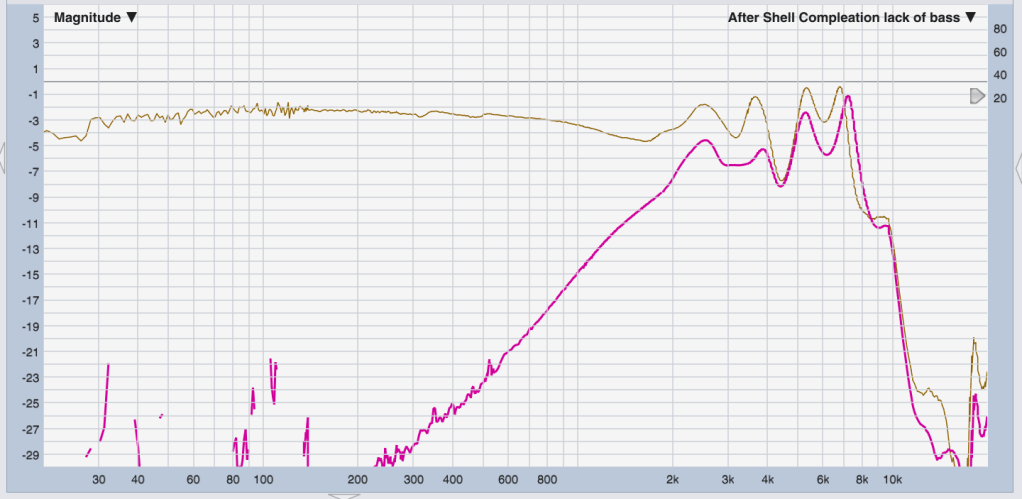
Initially I thought that perhaps vibration from grinding off the excess material had killed the woofers but after more failures in the future I would realize it was the solvent fumes from the UV cure clear coat that had made it back up the sound tubes and dissolved something in the drivers killing them. The solution to this problem was simply to plug the sound tubes with toothpicks while applying the UV cure lacquer. Once the lacquer is cured it is perfectly benign but while in its liquid state it gives off some nasty solvent fumes.
With this issue resolved I finally had a fully functional set of good looking, comfortable, and good sounding IEMs. I’m quite proud of them, I learned a lot, but I acknowledge that financially I really should have just bought a set from someone like JH audio or Ultimate Ears. The scanner alone cost as much as a top of the line set from either of them $3k and by the time I bought a seat of the modeling software $1k, the 3d printer $600, the bench lathe $300, the rotary tool $300, the UV curing oven $300, and the $1.5k of parts and raw materials I could have simply bought 3 top of the line IEMs from someone who really knows what they are doing. Oh well, I suppose at least I can make more now…

